When Mr. Movida’s old Interstate battery of ten years finally lost its cranking voltage and was replaced with a new one, Driver decided he would take the opportunity to rebuild the starter. Here we chronicle the rebuild of the solenoid during that starter rebuild. Starter is a Delco-Remy.
You will find the Starter Rebuild here (link pending).
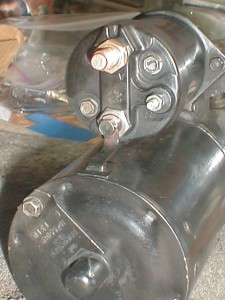
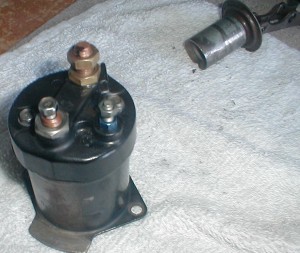
Remove the solenoid coil housing from the starter (I used a 5/16 box end wrench, worked fine). Use caution when removing the solenoid to starter link as this will bend and you DON’T want to break this.
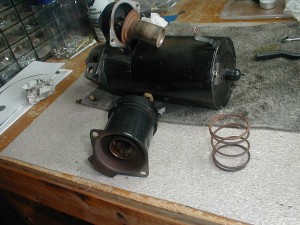
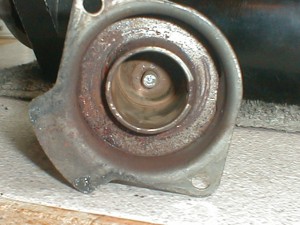
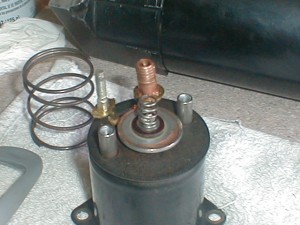
Separate the solenoid coil housing from the piston. Note: there is a spring here.
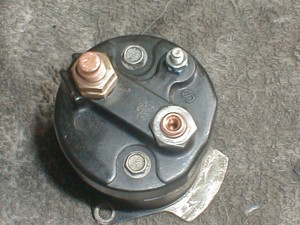
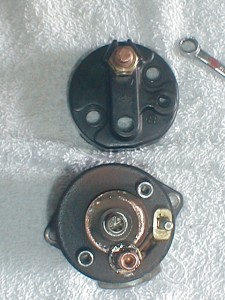
Remove the connector nuts and the solenoid cap screws (Again, I used the 5/16th for the screws).
Very carefully remove the solenoid contact from the coil housing. Be very careful when doing this. The battery and ignition connectors are only there by the grace of the wire that holds them and you DON’T want to break them.
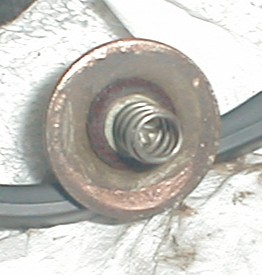
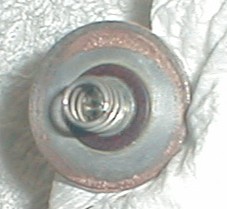
Carefully clean the corrosion from the contact disc.
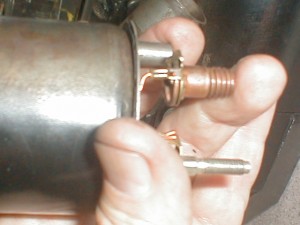
Carefully clean the corrosion from the terminal connectors. Again, be very careful as these terminals are held there only by the wires that hold them.
Replace the contact disc back into the hole. And yet again, be careful when you replace the disc as the two terminals are held in place by their respective wires and you must bend them easily to both remove and replace the disc.
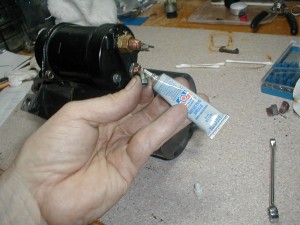
Replace the solenoid cap and hardware. Note: I put a light amount of dielectric grease on these terminals just to keep them from both locking up and to help ward off corrosion.



Leave a Reply