Time to replace the Cat?
Your Catalytic Converter that is. Here are a few pointers to keep in mind.
First, be sure to let the cat cool down. This dude gets really hot! Yes, it will burn you.
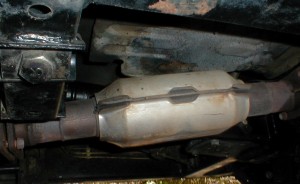
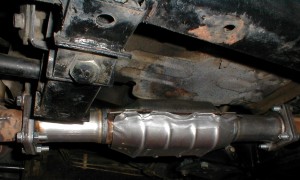
On Mr. Movida, the cat is situated just under the driver’s seat. There are four bolts holding it in place both fore and aft.
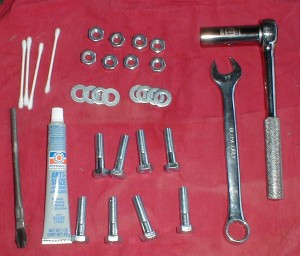
Tools required are a 17 mm box wrench and/or a 17 mm ratchet. You will need to work both the bolt and the nut and the bolts like to thread the holes on the gaskets as they are a very tight fit. This can be tricky but if you are mentally ready for it, that helps.
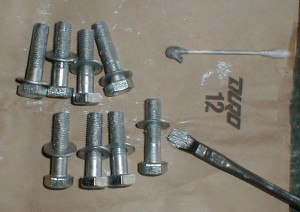
I made sure to first spray on some liquid wrench type of product to loosen up the nuts. I also like to apply some anti-sieze on the replacement bolts. You really should replace the old bolts with new ones as the old ones will most likely be corroded and difficult to work.
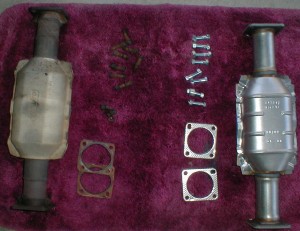
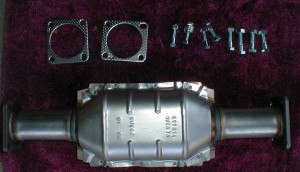
New gaskets came with the new converter. The one pictured here is referred to as a “direct fit” as a bolt in converter (NAPA EXH 15667). I understand that this “direct fit” replacement converter is no longer available from NAPA and the new replacement converter is a “universal” type meaning that the old converter must be cut out and the new one welded into place. There is sufficient length for both of the converter tubing for the cuts and welds fore and aft of the actual converter for this and the four bolt “direct fit” mounts are not affected. It is just that you can no longer do the replacement yourself but have to take it to a muffler or welding shop to have it done (unless you can do this yourself). Personally, I think that sucks…
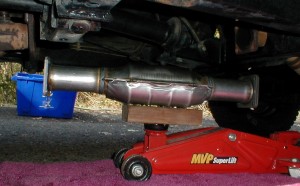
The unit is not heavy and can be easily handled when both removing and installing so you really don’t need the jack. It was just convient for me to use this one to raise it into place and align the bolts (this was especially helpful when threading the bolts through the gaskets) but I have also done this by hand without much trouble (just makes for a cool photo actually).
The only place I had any troubles with this removal/install was at the rear connection where the nuts/bolts are up close to the cross member and it was difficult to get a tool on them. I had to loosen up the muffle connections to allow enough flexibility to wiggle access to the rear side of the two top bolts. Other than that it was a pretty easy replacement.
Good to go…



Leave a Reply