My window washer unit has a tendency to leak from time to time and drain my washer tank. I am not really sure if the leak is from the motor itself or from the rubber washer where the motor inserts into the tank. Either way, I need to take it out from time to time, give it a good cleaning and rebuild. This is why it is under Maintenance rather than Repairs.
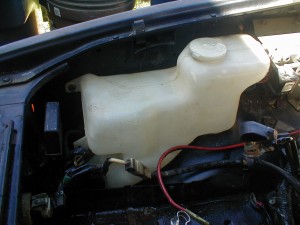
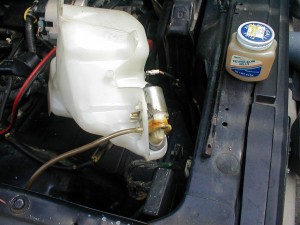
Remove the window washer tank and motor assembly from the vehicle.
You have to remove the battery hold-down to access the tank (5/8″ box end).
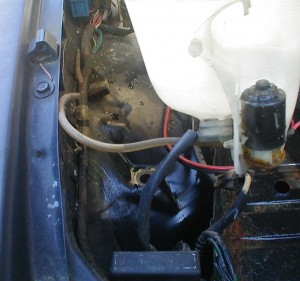
Once you have removed the battery hold down, there are two phillips head screws that hold the tank to the fender.
Disconnect the electrical connector and the tubing leading from the window washer motor to the sprayers.
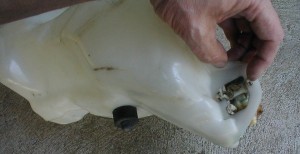
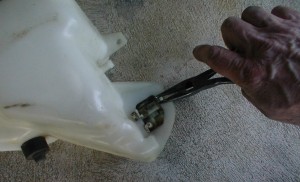
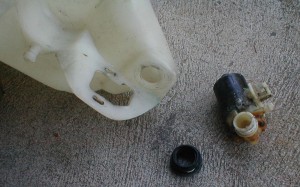
The motor is held in place by these three locks.
Be careful as they may have become brittle with time.
A pair of needle nose pliers works well for this.
Remove the motor by gently twisting the motor out of the rubber washer then remove the rubber washer.
At this point I would clean the tank and the rubber washer and give them a good cleaning/coating of an *Armor All type of product.
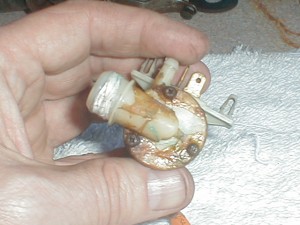
These three screws hold the motor end plate on. There is a small propeller inside this end cap that may need cleaning. I have cleaned it before so mine was fine here and why I didn’t open it up and show the propeller.
Clean up the motor. I needed to remove some old sealant from a previous rebuild I did a few years back. That is what the brown stuff is.
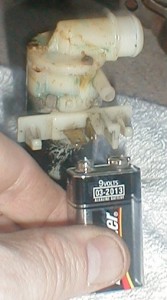
You can test the motor by applying 9 volts to the two male connectors. If good, the motor will make a whirling sound as the propeller inside begins to spin. If nada…well, I don’t know. Maybe it doesn’t work any more…
You can also take the metal cover off of the field winding by lifting up the three tabs. Again be careful not to break them off.
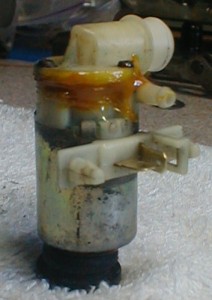
Here I have put some new sealant around the end cap of the motor. I have had leakage of washer fluid here before that is why the sealant.
Re-installation is opposite of removal. I put a little (very little) petroleum jelly around the rubber washer just to make insertion of the motor easier. Some folks say petroleum jelly is bad for rubber. I really don’t know for sure. I use it mainly as a lubricant as needed but lightly.
*Disclaimer: note that I do not receive any financial benefits from mentioning these products on this blog. They are identified for the sole purpose of helping the reader know what I used for this purpose.
All photos credit and copyright: Jim Mau © 2011
Copyright © 2011 Trooper V6



Leave a Reply