When Mr. Movida’s old Interstate battery of ten years finally lost its cranking voltage and was replaced with a new one, Driver decided he would take the opportunity to rebuild the starter. We are not sure how many miles (err, starts) this starter had on it at the time of the rebuild but you’re not gonna believe what you see…
You can also find a rebuild of the solenoid under Repairs – Solenoid
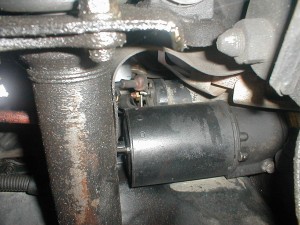
So we begin by removing the starter from the vehicle. I have seen forum posts, etc. that state you have to remove the exhaust in order to gain access and remove the starter. Not so on my Trooper at least (maybe it is a year and model thing) but it is an incredibly tight fit.
First, after disconnecting the battery terminals (I like to remove both the Pos. and the Neg. though the Neg. is probably sufficient. I just don’t like to take chances), disconnect the ignition lead (small nut, I used a 5/8″ box end) and move the wire out of the way so you can disconnect the battery lead (large nut, I used a 9/16″ box end).
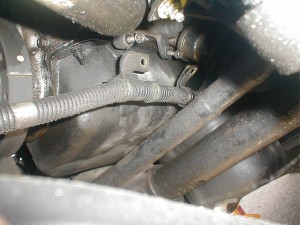
I then also disconnected the power cable’s two 10 mm small bolts hanging the cable along side of the oil pan. This allowed me to pull the cable back out of the way for removing the starter from the vehicle.
Then, (if I recall correctly) using a 15 mm socket (I should take better notes but it is difficult to do under the vehicle) I had to use a long and short extension to remove the two starter mounting bolts. Once lose, you need to move the starter slightly forward and maneuver the starter into a vertical position in order to remove it. Comes right out easily once you get it into position. – It is the same when putting the starter back in. Raise it up in the same vertical position then maneuver it back into the fly wheel housing. Don’t forget the shim (if present) but more on that down below… (Fig. 29).
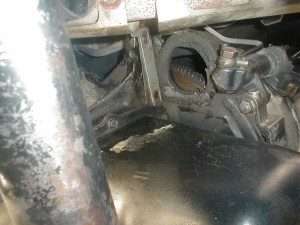
So here is a photo of the fly wheel and housing where the starter gear engages the fly wheel. Note that there is a fragile foam rubber gasket here surrounding the hole. Be careful not to tear it up as it keeps dust, dirt and water from entering the housing. Mine, though slightly damaged on the bottom side was okay to keep.
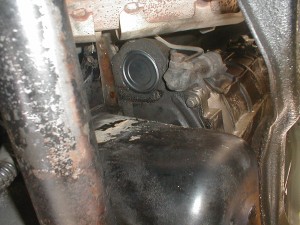
Here you can see I used the top of a 16 oz can placed gently into the foam rubber just to prevent anything from finding its way into the housing (I think it was a cranberry sauce can).
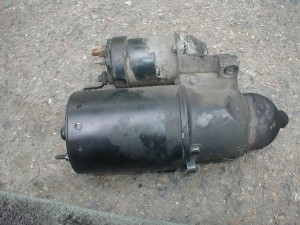
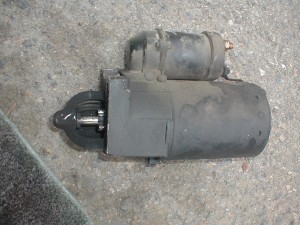
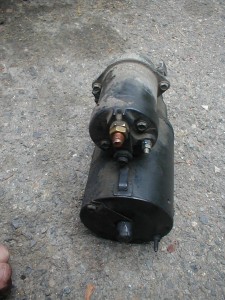
So here is the starter out of the vehicle.
right side
Left side (showing engagement gear).
And the front where you can see the battery connector (big one on top) and the ignition wire connector (smaller one at 5:00) and the power connector that runs off the screw on the bottom of the solenoid into the top of the starter.
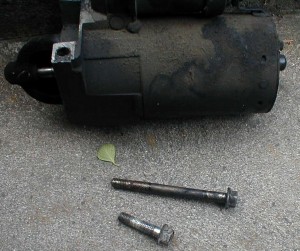
And the two starter mounting bolts (long one is the bottom bolt, short one is the upper bolt), 15mm.
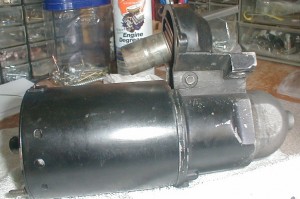
So now I have used some *Gunk Engine Bright to clean the outside of the starter (I hate working on greasy parts).
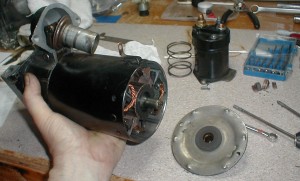
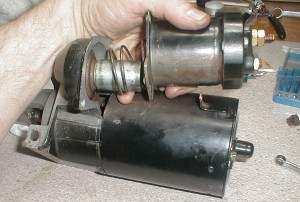
Here I have removed the solenoid and the solenoid spring (see Repair – Solenoid for details on solenoid removal and rebuild).
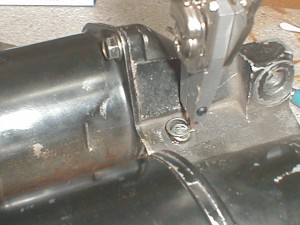
You can also see in this photo the pin that holds the solenoid yoke in place. That pin in held in place by a retaining ring (see Fig. 26 below) which will require removal using retaining ring pliers.
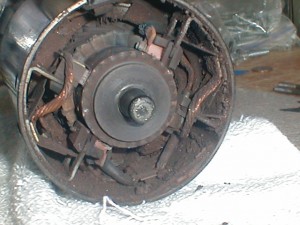
And here I have removed the end plate from the starter. If you look closely you can see all of the crud that has built up over the miles and starts this starter has been through.
It is also very critical that you do not damage the flat solenoid to battery connector that runs off of the bottom of the solenoid into the front of the starter as you will need to bend it slightly to get the cover off the starter. If you break it, collect all starter parts and pieces, get in your other car and take those parts and your butt to the auto yard recyclers to get yourself another starter to rebuild.
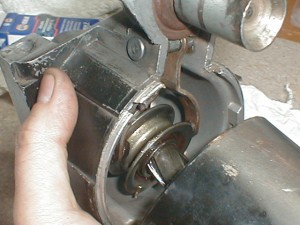
Once the starter end plate is removed the rear gear housing can be removed. The rear gear housing is held on by the same long bolts that hold the cover plate on. When you remove the yoke pin and slide the rear housing back you should be able to remove the yoke. Note: take note of which way the yoke is facing when you remove it as the solenoid piston easily flip flops back and forth. The pin holes should be facing forward.
So here is the view of the starter now with the rear gear housing removed, filthy.
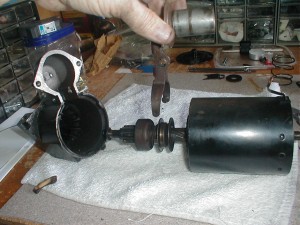
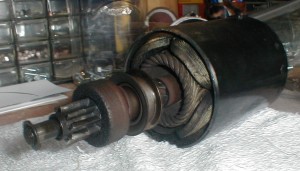
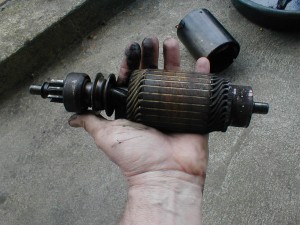
The armature just slides out of the field housing. Pretty sad shape hey? Wait until you see the brushes…
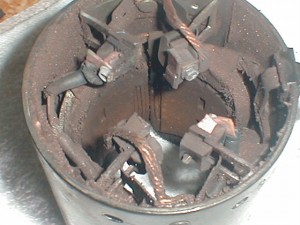
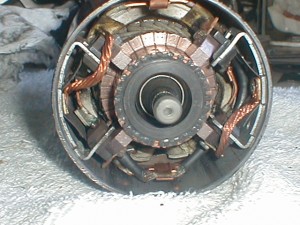
Here you can see the starter brushes. There are 4 and they are held in place by rubber mounts that fall off of their respective metal holders quite easily but this was not a problem even during reassembly.
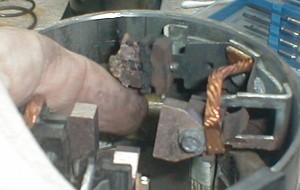
If you look closely you will see that two of the brushes were worn down about 1/2 way BUT the other two were worn down all the way into the screw holding them in! FA!!! Take a close look at the one upper left about 10:00. Can you see where the brush is worn down taking with it about 1/4 of the screw?
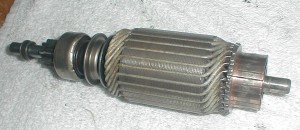
Here is the armature after cleaning it with *CRC Electra-Motor cleaner and a wire brush. Be sure to clean the commutator of any and all burrs so the new brushes will ride smoothly.
And here is the field housing also after cleaning with *CRC Electra-Motor cleaner.
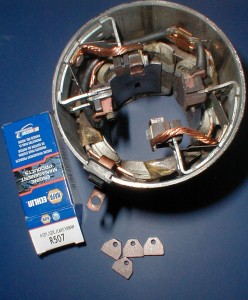
I picked up a set of new brushes at the local *NAPA automotive outlet. Four brush kit R507 for just under $5.
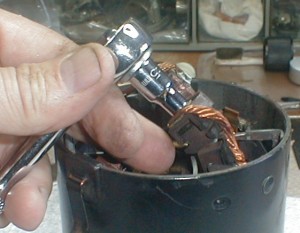
The brush retainer screws actually came loose quite easily with a 5mm socket wrench. Just be careful how you handle these things. Breaking them would not help you with this rebuild.
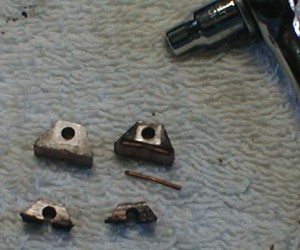
Here you can compare a new brush (center right) with one of the old brushes that had eaten away into the retaining screw (just above my finger). And, even they came out w/o too much trouble though instead of using the socket wrench to unscrew the screw, I had to use the socket wrench to hold the screw and twisted the brush off of the screw.
And here they are… the brushes
Ya gotta love it!
Can you believe these still started the vehicle. Starter was actually working fine when the battery finally lost its cranking voltage.
Side note: the battery continued to read a full 12v and to take a 14v charge off of the alternator but it lost its abililty to crank the engine following three hard starts finally giving up on the fourth.
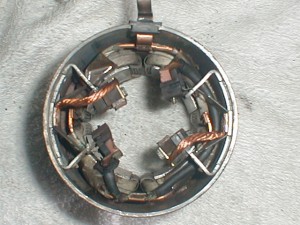
New brushes and a clean armature reinserted into the field housing. The brushes were actually very easy to guide up onto the commutator one at a time to seat. No ‘locking’ them against the spring like in some of the older generators I recall rebuilding as a kid.
Time to reassemble the yoke into the rear housing. Note that the yoke pin is holding the yoke in place (pin hole is forward) and that the yoke studs are resting in the groove.
Note: the yoke studs were also worn down about 1/3 the way but you sometimes just have to go with what you have…
I placed a small amount of high temp bearing grease on the back bushing of the armature rest. Some bushings are self-lubricating but I don’t know what the story is here so I felt a little grease was a good risk.
I also placed a small amount high temp grease on the bushing in the starter cover plate and then replaced the starter cover with the long bolts. I like to use just a small dab of anti-seize worked well into the threads of most of my bolts during rebuilds, but that is just me.
Replacing the solenoid spring and solenoid. It actually goes on with a slight counter-clockwise twist just like when it came off clockwise (see Repair – Solenoid for solenoid removal).
The yoke pin retaining ring is replaced using retaining ring pliers.
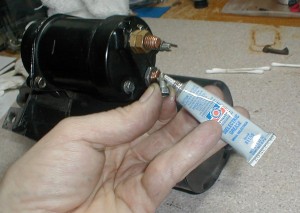
I also like to put a small dab of dielectric grease on the connectors to help prevent corrosion, makes them work smooth and easier to get off at some possible future point. They will be tightened sufficiently to prevent them from coming loose.
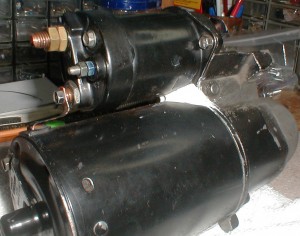
It is important to plug up the gap between the solenoid and the starter housing where the yoke is as you don’t want water getting into your starter motor. This is an easy place for water to get in but there is no way for that water to get out. I just used regular ol’ tub caulking.
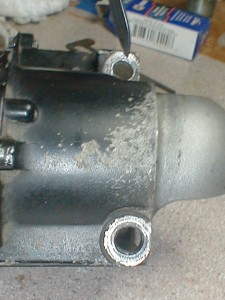
Be sure to clean the rear housing where the mounting bolts go to ensure good grounding.
And now its time to remount the starter and what is the deal with that shim anyway…?
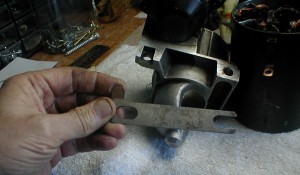
THIS (the shim) was the hard part. This is the part where a good four letter vocabulary comes into play and you will use it. THIS, positioning the shim and getting the mounting bolts into place was the hardest part of this repair and took me the longest time. I bet you it took me two hours JUST to get the shim in place and at least 12 attempts of raising the starter up into that extremely tight space before I lucked out and got alignment and the bolts took thread (almost got my left forearm stuck once. Though I was going to have to break it to get it out.)
The shim itself is easily positioned into place by smearing a little bit of dielectric grease on it and the flywheel mount and putting it into place. The trick is (using a sailors vocabulary) to re-insert the starter into position WITHOUT moving the alignment of the shim holes with those of the flywheel mount and the bolt holes in the starter. And remember, you are doing this while laying on your back, looking up into a small space 10 inches from your nose with grease falling into your face so remember to wear safety glasses and keep you mouth shut (just mumble the superlatives…there may be women and children near by).
*Disclaimer: note that I do not receive any financial benefits from mentioning these products on this blog. They are identified for the sole purpose of helping the reader know what I used for this purpose.
All photos credit and copyright: Jim Mau © 2011
Copyright © 2011 Trooper V6



Leave a Reply