I used to change the oil in my 2.8 L every 2,500 miles (made keeping track of when to change oil real easy). Now though that Mr. Movida is over 300,000 miles I have taken to a different regime. While I still make sure that his oil is changed no more than 2,500 miles, I now tend to change oil based on season and temperature. True this does make changing oil more frequent but it keeps the ol’ bird running cleaner and thus better at these miles so it is worth it to me.
In the winter when the temperature is in the 30s or below, I will run 30W. In the spring and fall when the temperature is in the 40, 50 and 60s or so, I will run 40W. Then in the summer, the hot months when the temperatures are clearing 80 and above I will run 50W.
First things first, drain the oil.
Set the parking brake. Put your oil pan under the drain plug (I don’t think you need a photo for this. Surely you can find your oil drain plug, …can’t you).
Drain plug on my Trooper is 15mm. Place your drain pan under the plug, unscrew the drain plug slowly (don’t drop it in the pan) and make sure you catch all of your oil (in some cities you can recycle the oil in a plastic milk jug).
Note: If it is windy, watch that the wind doesn’t blow the oil as it drains especially towards the end of the drainage.
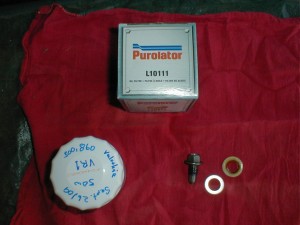
So here are the goods.
Notice how I have labled the filter with the information about the oil change on the bottom of the filter itself. I have the date of the oil change, the milage of the oil change, the weight and brand of the oil.
Also pictured here is the oil pan plug and gasket (one is nylon the other brass or something similar. I prefer the nylon, grips better though it does tend to crack over time).
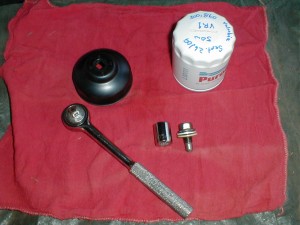
Here are the tools of this trick.
That is a oil filter change wrench (some call it a cap and such words). Just be sure to get one that fits your filter.
This one takes a regular 3/8 ” drive. The plug is a 15mm socket.
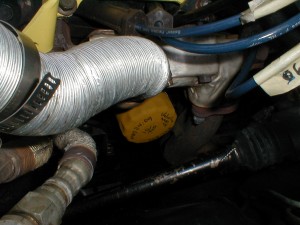
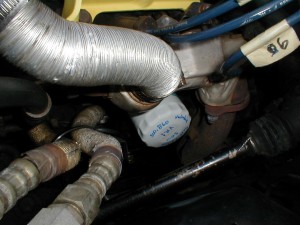
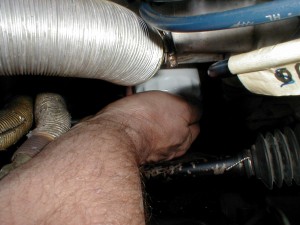
The oil filter on the 2.8 L is located on the right side of the engine block (facing the vehicle).
You did drain the oil first, didn’t you?
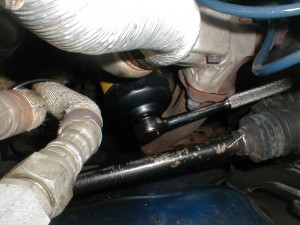
First put on the oil filter wrench then the rachet driver (only way it will fit).
Loosen the filter by slowly and gently turning the drive in a counter-clockwise motion (i.e. pull the handle up towards you). This is just to loosen the filter as you will unscrew it with your hand.
Finish unscrewing the filter. Be careful not to spill any oil that might still be in the filter. Be sure to have the filter facing upward as you remove it as to prevent any oil from spilling out.
Dispose of the filter per the requirements of your local community. This is hazardous waste and handled different ways by different communities. Be good to the environment.
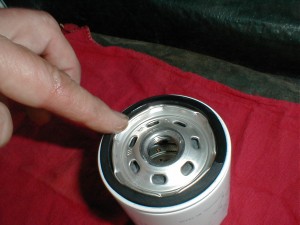
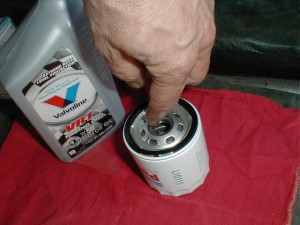
Open one of your new oil ‘cans’ and put a small amount of oil on the filter gasket. This will allow it to seal and seat better as well as prevent the gasket from adhering to the engine block thus making removal easier next oil change.
I like to put a little oil on the threads as well.
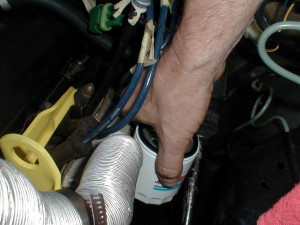
Slip the oil filter down into position bottom first then tilt it up into position. These filters usually take thread pretty easily but be careful if you have troubles NOT to strip the threads especially on the block.
Screw the filter on all the way.
And HAND TIGHTEN ONLY.
Note: Make sure you replace the oil drain plug BEFORE you put in the new oil
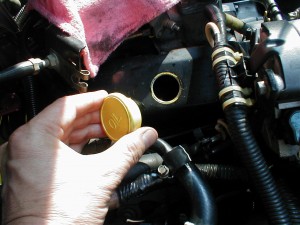
Remove the oil cap located on the left valve cover. This one just pops off.
Note: It is my understanding that this engine oil cap is not to be a breather type but just what you see.
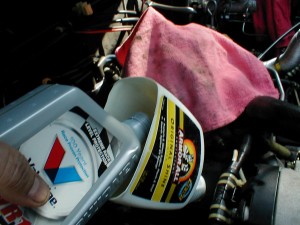
Replace with your oil of choice. I use this old vinyl cleaner bottle with the bottom cut off to help prevent spillage. It fits the hole nicely and doesn’t slip out very easily.
This engine takes four quarts (although mine typically will blow by the top 1/2 quart).
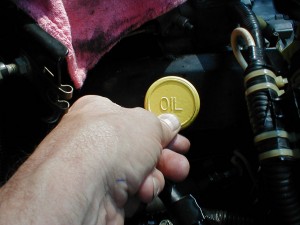
And don’t forget to replace the oil cap.
Start your engine. Let it run a minute or so and check for leaks…you did replace the oil drain plug BEFORE you put the new oil in … didn’t you?
*Disclaimer: note that I do not receive any financial benefits from mentioning these products on this blog. They are identified for the sole purpose of helping the reader know what I used for this purpose.
All photos credit and copyright: Jim Mau © 2011
Copyright © 2011 Trooper V6



Leave a Reply