Broken Back-Pack buckle? No Problem.
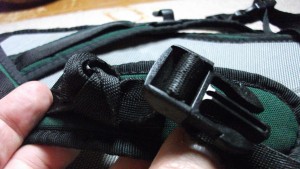
Let’s see what we need to do to repair this broken back-pack buckle on my daughters small hydration pack.
The adjust was broken on the female end of this buckle where it was sewn to the shoulder padding. She tied the web strapping off in a knot to hold but there was no way to adjust the length of the strap.
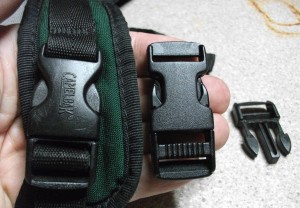
This type of buckle is called a Side Release Buckle and has a male end (called the ‘hook’ end) and a female end (called the ‘catch’ end). That which holds the buckle to the webbing can be referred to as the ‘adjust’ if it adjusts the strap or the ‘hold’ or ‘retaining bar’ if it secures the buckle like this one did to the shoulder strap.
First off, we need to find us a buckle that matches the broken one. You can usually pick these up at your local outdoor store.
I suggest you first carefully remove the old buckle from the pack and take it with you to the outdoor store so that you can match up the buckles. Remember, buckle structure, function and correct size to fit the strapping are all important.
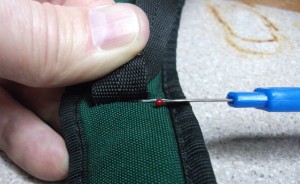
Once you have the correct replacement buckle it is time to remove the old one if you haven’t done so already. I like to use one of these gizmos (sorry, I don’t know what the correct name is for one of these nifty little tools) to carefully cut the threads retaining the buckle.
Make sure you take time to note the proper orientation of the buckle before removing it from the webbing. You don’t want to go through this exercise only to find out that you put the buckle on backwards.
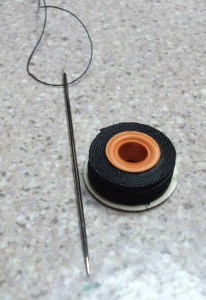
As far as needle and thread goes, I like to use a fairly strong nylon and a good quality needle. Good steel needles you can purchase at local sewing outlets as well as threads. The threads I prefer to use however, I purchased from a local shoe repair shop. This is an excellent quality thread, very strong and typically used in shoe repair. I also like the idea of supporting my local small shop owners. I hope you do too.
Video: Knotting off the end of the thread
Note: the knot is at the end of the thread, not the knot in the middle of the field of view. Sorry for the confusion.
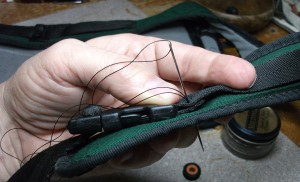
Before sewing the buckle back on, check again to make sure you have the orientation of the buckle correct. Pull the needle through but do so slowly so you can be sure not to allow the thread to tangle and knot. It can be a real pain trying to untangle a knotted thread.
Video: Starting your stitching
Video: Keeping the thread tight
Video: Keeping the thread tight – again only better
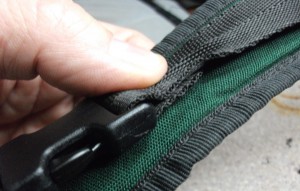
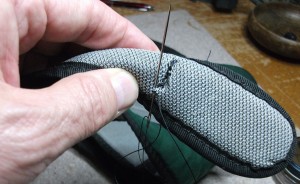
Make sure you run your stitching the entire length of the webbing to ensure good hold and support for the buckle. If you can stitch over the side ends of the webbing just a bit, that may help hold the buckle as well. Now it is time to knot off the thread.
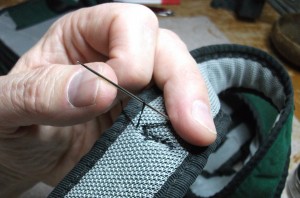
When done with the stitching, it is important to tie off the thread. Just a couple of ‘half-hitches’ should do the job. Just run the needle through a loop while keeping the loop as close to the stitching as you can should keep the stitching from coming out.
Video: Tying off the end knot
Video: I like fixin’ my gear…



Leave a Reply